RPI-Cast server
Sep 2014
![]()
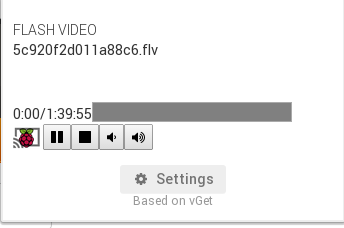
I am happy to present RPI-Cast a Google Chrome’s extension that will turn your Raspberry PI into a Google Chromecast-like device. Once everything is installed and configured, you’ll be able to play videos on your TV and command their reproduction (volume, pause-play and time) directly from your Google Chrome Browser (from your laptop or smart-phone devices).
Installation instructions
Client side
This is the easy part. First you need to download my RPI-cast extension (RPI-cast) and import it on your Google Chrome browser (using the chrome://extensions configuration page).
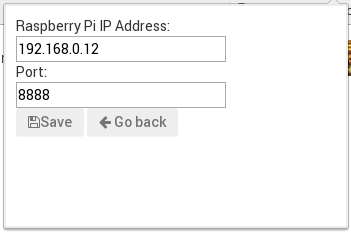
Inside the RPI-cast settings page use your Raspberry Pi IP address and store your configuration (the port I am using by default is 8888).


Server side
This is the tricky part, two files are required on the Raspberry Pi:
dbuscontrol.sh
dbuscontrol.sh is used to send D-bus signals to Omxplayer (in order to change the volume, toogle pause and play, etc). This script should be placed inside /usr/bin or in a folder known by the $PATH environmental variable.
websocket_server.py
websocket_server.py is a Python script that launches a server and listens all messages from the browser (your will need to install Tornado’s Websockets package on the Raspberry PI).
Systemd configuration file
The last thing to do is to run our websocket_server.py script automatically after booting the Raspberry Pi. I use Arch Linux for ARM, so systemd is my service manager, I just created a configuration file named picast.service which contains
[Unit]
Description=Raspberry PI Cast Project
Requires=
Wants=

[Service]
User=root
WorkingDirectory=/root
ExecStart=/root/websocket_server.py
PIDFile=/tmp/websocket_server.pid

[Install]
WantedBy=multi-user.target
and I just put it inside /etc/systemd/system.
To enable the picast service we run systemctl enable picast and we can start it using systemctl start picast.